I am sick and tired of wasting time trying to keep classroom photos up to date on my website. I need a quick easy way to post my pictures without downloading, uploading, etc... If you've been following my blog you know I HATE wasting time. So, here's my latest solution (if you are an Apple product user)
Follow the instructions below. Then, link your Photo Stream site onto your webpage (ONCE!) and you will always have live, up to date pics!
Now your photos on your web-page will update easily and instantly right from your iOS device!
Was this helpful? Would you like more screen shots? I'd love your feedback!
Questions? Tweet to @jpanga10 Tweet
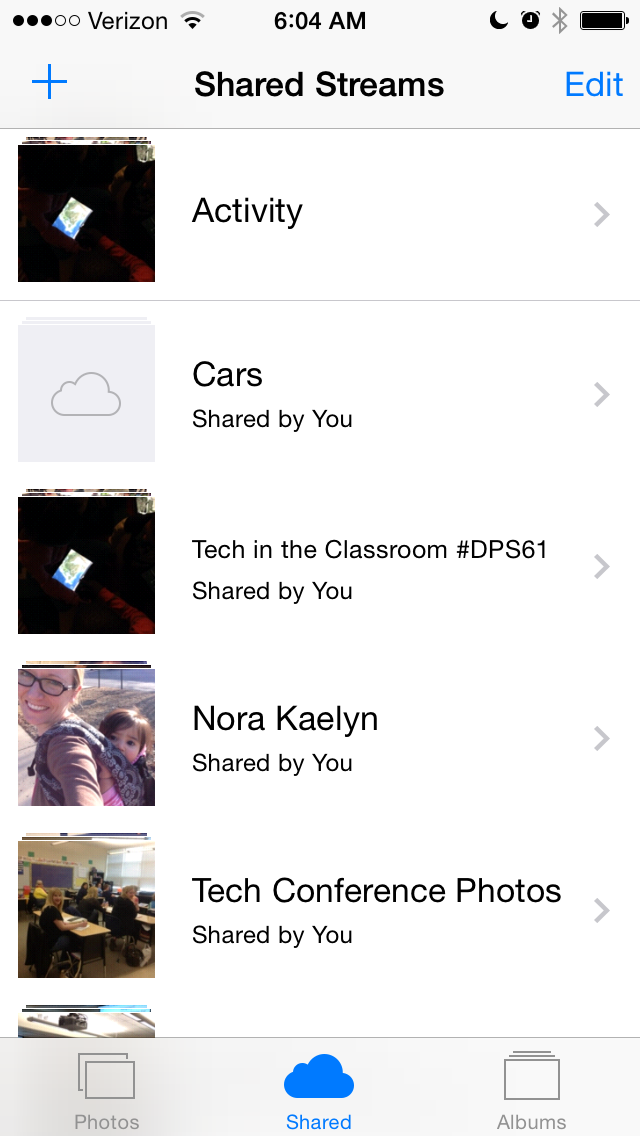
From an iOS Device (iPad, iPhone)
- Open up Photos
- Click on the Shared Tab (at the bottom in the middle)
- Click on the + sign in the upper left-hand corder
- Name your photo stream, Push Next
- Now, you have the option of adding other iCloud users to your photo stream. If you add other users they will be able to view your photo stream on their phone, iPad, or iPhoto on their MacBook. Since you are making this photo stream public it's up to you if you include anyone
- Select Create
- Now you will see your new photo stream appear in your list under Activity. Select it.
- At the bottom you will see two tabs, select the People tab
- Select the tab next to Public Website and make it green.
- Select share link and email it to yourself (So that you will have it later to add into your website).
- Return to the Photos Tab at the bottom.
- When you click on the + square you will be able to insert photos straight from your camera roll. You can add comments about the pictures for parents!
- Your last step is to add your link to your webpage. If you are using SchoolWires, please feel free to use my tutorial video found at www.dps61.org/techresources under the Web101 tab.
Now your photos on your web-page will update easily and instantly right from your iOS device!
Was this helpful? Would you like more screen shots? I'd love your feedback!
Questions? Tweet to @jpanga10 Tweet